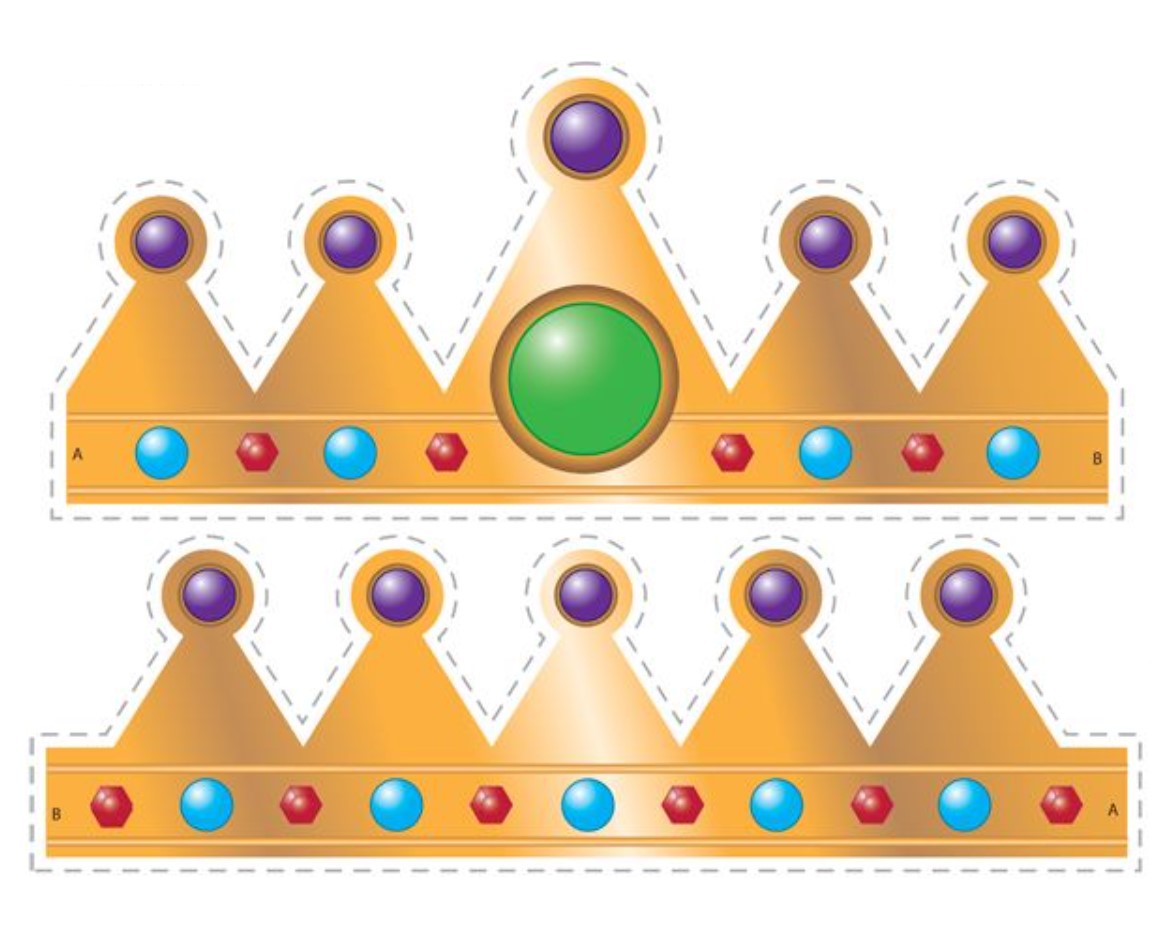
The crown has long been associated with royalty, power, and elegance. Whether for a special occasion, a costume party, or simply a playful dress-up session, creating a printable stencil crown offers a fun and creative project that allows you to channel your inner monarch. In this article, we will explore the steps involved in making a printable stencil crown, providing you with the tools to craft a regal accessory that will add a touch of majesty to any event or imaginative play.

Gather Your Materials:
To create a printable stencil crown, you will need a few basic materials. These include:
- Printable crown stencil template: Find or design a crown stencil template that suits your desired style. There are numerous free templates available online, offering a variety of crown designs to choose from.
- Cardstock or heavy paper: Use a sturdy material like cardstock to ensure your crown holds its shape. Thicker paper will provide durability and longevity.
- Scissors: Have a pair of sharp scissors on hand to cut out the crown stencil accurately.
- Craft knife (optional): A craft knife can be useful for cutting out intricate details or inner sections of the stencil. Exercise caution and adult supervision if using a craft knife, especially if involving young children.
- Decorative materials: Consider using embellishments such as glitter, sequins, rhinestones, or paint to add a touch of sparkle and personalization to your crown.
Choose and Print Your Crown Stencil:
Select a crown stencil template that matches your vision. Look for designs with well-defined lines and clear shapes that will be easy to trace and cut. Resize the template if needed to fit your head size. Once you have chosen the perfect stencil, print it onto the cardstock or heavy paper.
Cut Out the Crown Stencil:
Using sharp scissors, carefully cut along the outer edges of the crown stencil. Take your time to ensure clean, precise cuts. If the stencil has inner sections or intricate details, you can use a craft knife to cut them out more precisely. Be cautious and follow proper safety measures when using a craft knife.

Decorate Your Crown:
Now comes the fun part – decorating your crown! Let your creativity shine as you personalize your crown with various decorative materials. Add a touch of glamour with glitter or sequins, or use paint to bring your crown to life with vibrant colors. Consider incorporating rhinestones, feathers, or other materials that align with your vision of royalty. Allow your imagination to guide you as you transform the crown stencil into a true regal masterpiece.
Assemble and Wear Your Crown:
Once you have decorated your crown and the decorations have dried, it’s time to assemble your creation. Align the ends of the crown stencil, overlapping them slightly, and secure them together using glue or tape. Ensure a snug fit by adjusting the size if necessary. Place the crown on your head, adjusting it to a comfortable position. Admire your work as you feel the regal aura emanating from your custom-made printable stencil crown.

Crafting a printable stencil crown allows you to embrace your creativity and indulge in the allure of royalty. By following the steps outlined above, you can create a magnificent accessory that adds an extra touch of elegance to any occasion. So, gather your materials, select your stencil, let your imagination run wild with decorations, and wear your crown with pride as you step into a world of regal enchantment. Get ready to rule your own kingdom, even if it’s just for a day!